| Product Recognition | |
|---|
| Certification Number | ZC10-15050009 |
|---|
| Name | Z-Wave Motion Sensor |
|---|
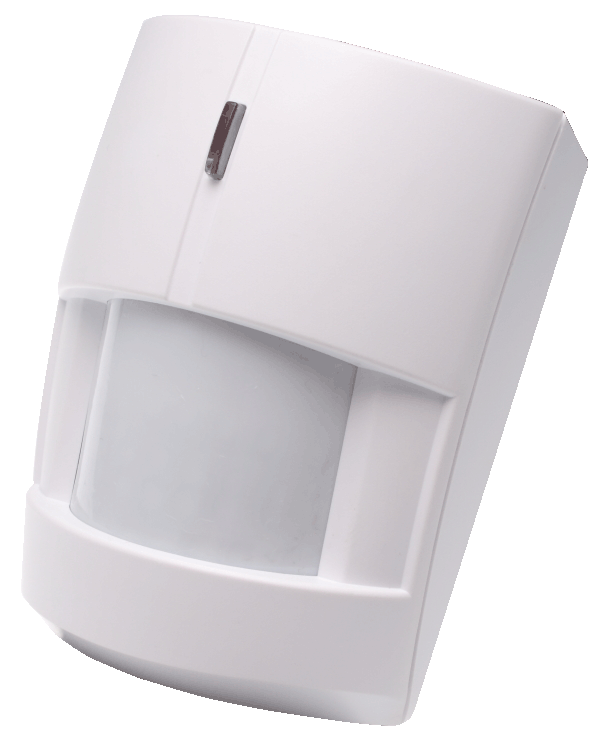
| Short Description | The IR-16ZW is a Z-Wave motion detector sensing and reporting suspicious movements to a security or home automation system. Compatible with any Z-Wave mesh networks and devices, the IR-16ZW can be flexibly incorporated into Z-Wave enabled systems for residential or commercial applications. |
|---|
| Long Description | The IR-16ZW is a Z-Wave motion detector sensing and reporting suspicious movements to a security or home automation system. Compatible with any Z-Wave mesh networks and devices, the IR-16ZW can be flexibly incorporated into Z-Wave enabled systems for residential or commercial applications.
The IR-16ZW adopts advanced Adaptive Digital Signal Processing (ADSP) algorithms to deliver sensitive and reliable detection. Powered by a pre-inserted lithium battery, the IR-16ZW features long battery life . |
|---|
| Brand | Climax Technology |
|---|
| Product Identifier | IR-16ZW |
|---|
| OEM Version | 01 |
|---|
| Hardware Platform | ZM5202 |
|---|
| Z-Wave Version | 6.51.06 |
|---|
| Library Type | SLAVE_ENHANCED_232 |
|---|
| Device Type | Notification Sensor |
|---|
| Role Type | ROLE_TYPE_SLAVE_SLEEPING_REPORTING |
|---|
| Manufacturer ID | 0x018E |
|---|
| Product Type ID | 0x0001 |
|---|
| Product ID | 0x0002 |
|---|
| Frequency Plans | EU: 869.85MHz, 868.40MHz |
|---|
| Categories | Sensors |
|---|
| Countries / Regions | European Union |
|---|
| Controlled Command Classes | | Identifier | Name | Key | Version |
|---|
| COMMAND_CLASS_BASIC | Basic | 0x20 | 1 |
|
|---|
| Documents | |
|---|
| Association Groups | | Group Number | Maximum Nodes Supported | End Point ID | Description |
|---|
| 1 | 5 | 0 | Group 1 for “LifeLine”:
Notification CC,V4 (COMMAND_CLASS_NOTIFICATION)
Battery CC (COMMAND_CLASS_BASIC)
Device Reset Locally CC
| | 2 | 5 | 0 | Group 2 for “Basic Set”:
Basic CC, v2 (COMMAND_CLASS_BASIC)
| | 3 | 5 | 0 | Group 3 for “Notification Report”:
Notification CC,V4 (COMMAND_CLASS_NOTIFICATION)
|
|
|---|
| Texts | | ID | Description | Value |
|---|
| 5 | Factory Reset | Factory resetting the device will restore it to factory default settings (i.e. not included into any Z-wave network). Please only use this procedure if the Z-Wave gateway or control panel is lost or otherwise inoperable.
- Press and hold the Function Button of the device for 12 seconds to factory reset. | | 2 | Exclusion | 1. Put the Z-wave gateway or control panel into Exclusion mode (please refer to the Z-wave or control panel manual).
2. Within 1.5 seconds, press the Function Button 3 times and the device will be removed from the Z-wave network. | | 1 | Inclusion | 1. Pull out the battery Insulator steadily.
2. The LED indicator will flash for 30 seconds (The PIR is warming up). During the warm up period, the PIR will not be activated. It is recommended that you stay away from the detection area during this time. After the warming period is over, the LED will turn off and the PIR will be ready for operation.
3. Put the Z-wave control panel into Inclusion mode (please refer to the Z-wave control panel manual).
4. Within 1.5 seconds, press the Function Button 3 times.
5. Refer to the operation manual of the Z-wave gateway or control panel to complete the adding process.
6. Please press and release the Tamper Switch once after inclusion is completed to ensure the Gateway/Control Panel recognizes the current Tamper condition.
7. If the device has already been added (included) into another Z-wave Gateway/Control Panel, or if the device is unable to be added into the current Z-wave Gateway/Control Panel, try removing it first (see Removing Device). | | 3 | Learn Mode (adding another controller) | 1. Pull out the battery Insulator steadily.
2. The LED indicator will flash for 30 seconds (The PIR is warming up). During the warm up period, the PIR will not be activated. It is recommended that you stay away from the detection area during this time. After the warming period is over, the LED will turn off and the PIR will be ready for operation.
3. Put the Z-wave control panel into Inclusion mode (please refer to the Z-wave control panel manual).
4. Within 1.5 seconds, press the Function Button 3 times.
5. Refer to the operation manual of the Z-wave gateway or control panel to complete the adding process.
6. Please press and release the Tamper Switch once after inclusion is completed to ensure the Gateway/Control Panel recognizes the current Tamper condition.
7. If the device has already been added (included) into another Z-wave Gateway/Control Panel, or if the device is unable to be added into the current Z-wave Gateway/Control Panel, try removing it first (see Removing Device). |
|
|---|
| Supports NWI | Yes |
|---|
| Supports Explorer Frames | Yes |
|---|