| Product Recognition | |
|---|
| Certification Number | ZC14-24010385 |
|---|
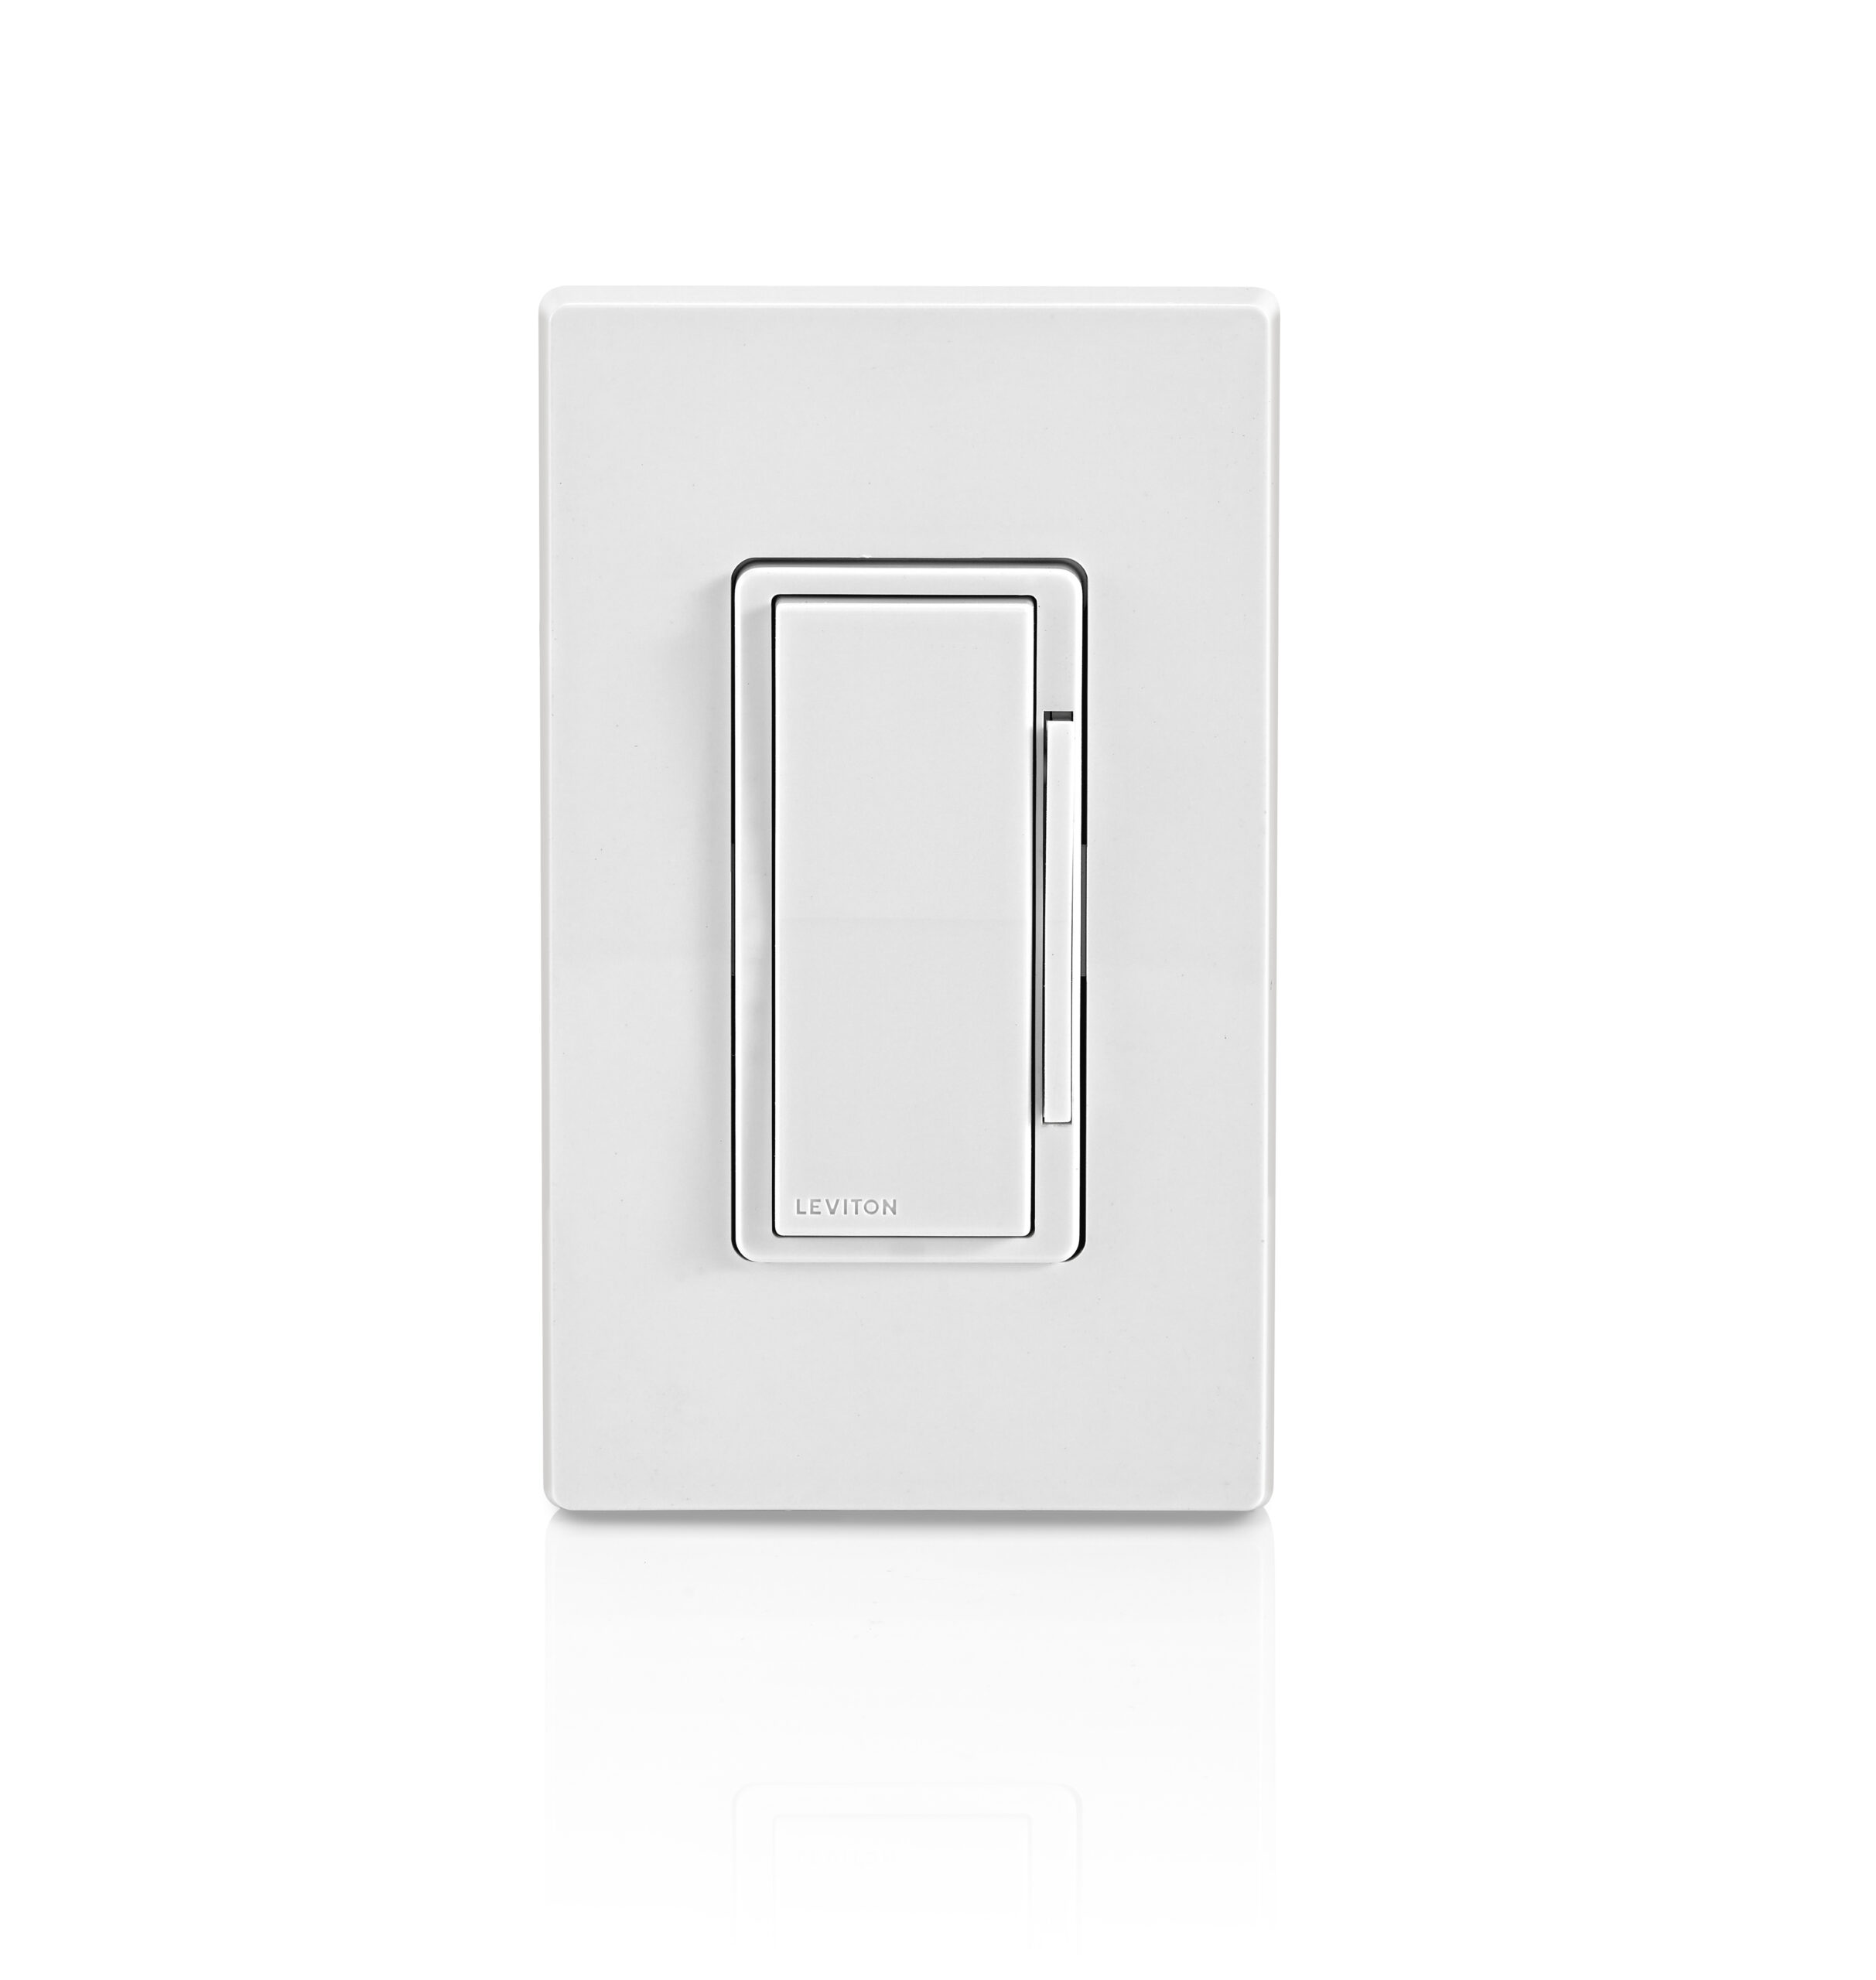
| Name | Decora Smart Z-Wave™ 800 Series Dimmer |
|---|
| Short Description | Leviton's Decora Smart Z-Wave™ 800 Series Dimmer offers the latest in Z-Wave™ technology with on/off and dim/bright control of incandescent, LED/CFL, and MLV lighting. |
|---|
| Long Description | The Leviton Decora Smart Z-Wave™ 800 Series Dimmer is designed for use with modern Z-Wave™ hubs and makes it easier than ever to control your lights how you want. The Dimmer is compatible with any Z-Wave enabled network, regardless of the manufacturer, and can also be used with other devices displaying the Z-Wave logo. As well, this device can act as a repeater to increase the reliability of the Z-Wave network. The Decora Smart Z-Wave 800 Series Dimmer looks right at home with your other Decora® in-wall devices and features intuitive on/off and dim/bright control. Add the Dimmer to your Z-Wave hub of choice to enable app commands, scheduling, and voice control of connected lighting. |
|---|
| Brand | Leviton |
|---|
| Product Identifier | ZW6HD |
|---|
| Product Line | Decora Smart Z-Wave™ |
|---|
| OEM Version | HW: 01 FW: 01.01:02.01 |
|---|
| Hardware Platform | ZGM230SA |
|---|
| Z-Wave Version | 7.18.8 |
|---|
| Library Type | END_NODE_ENHANCED_232 |
|---|
| Device Type | Multilevel Switch DT |
|---|
| Role Type | ROLE_TYPE_END_NODE_ALWAYS_ON |
|---|
| Manufacturer ID | 0x001D |
|---|
| Product Type ID | 0x0041 |
|---|
| Product ID | 0x0002 |
|---|
| User Icon | 0x0600 |
|---|
| Installer Icon | 0x1C01 |
|---|
| Frequency Plans | US: 916.00MHz, 908.40MHz |
|---|
| Categories | All Lighting Devices, On/Off Switches/Devices, Dimming Lighting Devices, Lighting Accessories |
|---|
| Countries / Regions | Canada, Mexico, United States of America |
|---|
| Supported Command Classes | | Identifier | Name | Key | Version |
|---|
| COMMAND_CLASS_BASIC_V2 | Basic V2 | 0x20 | 2 | | COMMAND_CLASS_CONFIGURATION_V4 | Configuration V4 | 0x70 | 4 | | COMMAND_CLASS_SWITCH_MULTILEVEL_V4 | Multilevel Switch V4 | 0x26 | 4 | | COMMAND_CLASS_SCENE_ACTIVATION | Scene Activation | 0x2B | 1 | | COMMAND_CLASS_SCENE_ACTUATOR_CONF | Scene Actuator Configuration | 0x2C | 1 | | COMMAND_CLASS_ASSOCIATION_V2 | Association V2 | 0x85 | 2 | | COMMAND_CLASS_ASSOCIATION_GRP_INFO_V3 | Association Group Information (AGI) V3 | 0x59 | 3 | | COMMAND_CLASS_DEVICE_RESET_LOCALLY | Device Reset Locally | 0x5A | 1 | | COMMAND_CLASS_FIRMWARE_UPDATE_MD_V5 | Firmware Update Meta Data V5 | 0x7A | 5 | | COMMAND_CLASS_INDICATOR_V3 | Indicator V3 | 0x87 | 3 | | COMMAND_CLASS_MANUFACTURER_SPECIFIC_V2 | Manufacturer Specific V2 | 0x72 | 2 | | COMMAND_CLASS_MULTI_CHANNEL_ASSOCIATION_V3 | Multi Channel Association V3 | 0x8E | 3 | | COMMAND_CLASS_VERSION_V3 | Version V3 | 0x86 | 3 | | COMMAND_CLASS_ZWAVEPLUS_INFO_V2 | Z-Wave Plus Info V2 | 0x5E | 2 | | COMMAND_CLASS_SECURITY_2 | Security 2 | 0x9F | 1 | | COMMAND_CLASS_SUPERVISION | Supervision | 0x6C | 1 | | COMMAND_CLASS_TRANSPORT_SERVICE_V2 | Transport Service V2 | 0x55 | 2 | | COMMAND_CLASS_POWERLEVEL | Powerlevel | 0x73 | 1 |
|
|---|
| S2 Classes | S2_AUTHENTICATED, S2_UNAUTHENTICATED |
|---|
| Documents | |
|---|
| Features | | Feature | Values |
|---|
| Electric Load Type | | Value |
|---|
| Incandescent | | Dimmable LED | | Dimmable Fluorescent | | Dimmable MLV (Magnetic) |
| | Firmware Updatable | | Value |
|---|
| Updatable by Consumer by RF |
| | Neutral Wire Required | | | Z-Wave Scene Type | | | Switch Load Capacity Watts | | Value |
|---|
| 600W INC, 300W LED/CFL, 600VA MLV |
| | Switch Type | | Value |
|---|
| Decorator Paddle Push with Indicator |
|
|
|---|
| Association Groups | | Group Number | Maximum Nodes Supported | End Point ID | Group Name | Profile |
|---|
| 1 | 5 | 0 | Lifeline | 0x0001 | | 2 | 5 | 0 | Multilevel switch set | 0x2001 | | 3 | 5 | 0 | Basic set | 0x2001 |
|
|---|
| Configuration Parameters | | Parameter Number | Name | Description | Format | Size | Min Value | Max Value | Default Value |
|---|
| 1 | Fade On Time | 0: instant on, 1-127: 1-127 seconds, 128-253: 1-126 minutes | 0 | 4 | 0 | 0 | 0x00000002 | | 2 | Fade Off Time | 0: instant off, 1-127: 1-127 seconds, 128-253: 1-126 minutes | 0 | 4 | 0 | 0 | 0x00000002 | | 3 | Minimum Dim Light Level | 0-99 | 0 | 4 | 0 | 0 | 0x0000000A | | 4 | Maximum Brightness Light Level | 10-99 | 0 | 4 | 0 | 0 | 0x00000063 | | 5 | Preset light level // Return to last level | 0-99. 0 to return to previous level | 0 | 4 | 0 | 0 | 0x00000000 | | 6 | LED Dim Bar Behavior | 0: always off, 1-254: 1-254 seconds, 255: always on | 0 | 4 | 0 | 0 | 0x00000003 | | 7 | Status LED Configuration | 0: always off, 254: Status LED ON when load is ON, 255: Status LED ON when load is OFF (locator mode) | 0 | 4 | 0 | 0 | 0x000000FF | | 8 | Load Type | 0: incandescent, 1: LED, 2: CFL, 3: MLV | 0 | 4 | 0 | 0 | 0x00000001 | | 9 | Control Timing | 0: Normal, 1: Medium, 2: Extended | 0 | 4 | 0 | 0 | 0x00000000 |
|
|---|
| Texts | | ID | Description | Value |
|---|
| 8 | Where to find S2 DSK on product | SmartStart enabled devices can be added to a Z-Wave network by scanning the Z-Wave QR code on the top of the device, on the strap, or on the back of the unit box with a compatible Z-Wave controller that supports SmartStart inclusion. The device should be added automatically within 10 minutes of being switched on and in the network vicinity.
The QR code label with DSK is located on the top of the device. If required, the PIN code is underlined on the label. The PIN code is also located on the front strap. | | 1 | Classic Inclusion | For older controllers, Classic Inclusion is supported.
Depending on the age of the controller it may need to be 3 to 35 feet from the device when including.
1. Enter setup mode (see page 10).
2. Follow the Z-Wave controller instructions to enter
inclusion mode.
3. Tap the top rocker 1 time, the Status LED will quickly
flash GREEN.
4. The Z-Wave controller will confirm successful inclusion to the Z-Wave network. | | 2 | Classic Exclusion | The Exclusion command found in the Z-Wave controller is used as a best practice for removing devices from a
Z-Wave network.
1. Enter setup mode (see page 10).
2. Follow the Z-Wave controller instructions to enter
exclusion mode.
3. Tap the top rocker 1 time, the Status LED will quickly
flash GREEN.
4. The Z-Wave controller will confirm successful exclusion from the Z-Wave network. | | 5 | Factory Reset Procedure | When removing a Z-Wave device from the network, it is best practice to use the exclusion process. In situations where a device needs to be returned to factory default settings, follow the steps below. Please use this procedure only when the network primary controller is missing or otherwise inoperable.
1. Hold the top rocker for 14 seconds: After the first 7 seconds, the Status LED will turn AMBER. Continue holding until the Status LED flashes RED/AMBER then release.
2. The device will reset. | | 6 | Other Special Features | Fade On Time (Dimmer only)
1. Enter Setup Mode
2. Tap the Top Rocker 6 times. The Status LED will quickly flash green/red
3. Tap the Top Rocker 1 time. The Status LED will quickly flash amber/red
4. Use the Dim/Bright Bar to adjust the Fade On time based on the below chart.
5. Hold the top of the rocker to exit. The Status LED will quickly flash amber to confirm.
Fade Off Time (Dimmer only)
1. Enter Setup Mode
2. Tap the Top Rocker 6 times. The Status LED will quickly flash green/red
3. Tap the Top Rocker 2 times. The Status LED will quickly flash red
4. Use the Dim/Bright Bar to adjust the Fade off time based on the below chart.
5. Hold the top of the rocker to exit. The Status LED will quickly flash amber to confirm.
Minimum Dim Light Level (Dimmer only)
1. Enter Setup Mode
2. Tap the Top Rocker 5 times. The Status LED will quickly flash red/amber
3. Tap the Top Rocker 1 time. The Status LED will quickly flash amber
4. Use the Dim/Bright Bar to adjust the minimum dim level
5. Hold the top of the rocker to exit. The Status LED will quickly flash amber to confirm
Maximum Brightness Light Level (Dimmer only)
1. Enter Setup Mode
2. Tap the Top Rocker 5 times. The Status LED will quickly flash red/amber
3. Tap the Top Rocker 2 times. The Status LED will quickly flash red
4. Use the Dim/Bright Bar to adjust the maximum dim level
5. Hold the top of the rocker to exit. The Status LED will quickly flash amber to confirm
Preset Light Level vs Return to Last Level (Dimmer only)
1. Enter Setup Mode
2. Tap the Top Rocker 7 times. The Status LED will quickly flash red/amber
3. Use the dim/bright bar to adjust the desired preset light level
4. To set the dimmer to "Return to Last Level", set the dim/bright level to 0% or OFF
5. Hold the top of the rocker to exit. The Status LED will quickly flash amber to confirm
LED Dim / Bright Bar Behavior (Dimmer only)
1. Enter Setup Mode
2. Tap the Top Rocker 8 times. The Status LED will quickly flash red
3. Use the Dim/Bright Bar to adjust the amount of time the dim/bright bar LEDs are lit after the dim/bright bar is pressed based on the below chart.
4. Hold the top of the rocker to exit. The Status LED will quickly flash amber to confirm
Status LED Configuration
Status LED ON when load is ON
1. Enter Setup Mode
2. Tap the Top Rocker 4 times. The Status LED will quickly flash green/amber
3. Tap the Top Rocker 1 time. The Status LED will flash green 4 times to confirm the selection
Status LED ON when load is OFF (Default)
1. Enter Setup Mode
2. Tap the Top Rocker 4 times. The Status LED will quickly flash green/amber
3. Tap the Tap Rocker 2 times. The Status LED will flash amber 4 times to confirm the selection
Status LED Off
1. Enter Setup Mode
2. Tap the Top Rocker 4 times. The Status LED will quickly flash green/amber
3. Tap the Tap Rocker 3 times. The Status LED will flash red 4 times to confirm the selection
Bulb Type (Dimmer only)
Incandescent
1. Enter Setup Mode
2. Tap the Top Rocker 4 times. The Status LED will quickly flash green/amber
3. Tap the Tap Rocker 4 times. The Status LED will flash green/amber 4 times to confirm the selection
LED (Default)
1. Enter Setup Mode
2. Tap the Top Rocker 4 times. The Status LED will quickly flash green/amber
3. Tap the Top Rocker 5 times. The Status LED will flash green/red 4 times to confirm the selection
CFL
1. Enter Setup Mode
2. Tap the Top Rocker 4 times. The Status LED will quickly flash green/amber
3. Tap the Tap Rocker 6 times. The Status LED will flash red/amber 4 times to confirm the selection
MLV
1. Enter Setup Mode
2. Tap the Top Rocker 4 times. The Status LED will quickly flash green/amber
3. Tap the Tap Rocker 7 times. The Status LED will flash red/green 4 times to confirm the selection |
|
|---|
| Supports NWI | Yes |
|---|
| Supports Explorer Frames | Yes |
|---|
| Supports SmartStart | Yes |
|---|