| Product Recognition | |
|---|
| Certification Number | ZC10-16035028 |
|---|
| Name | DoorWindow Sensor |
|---|
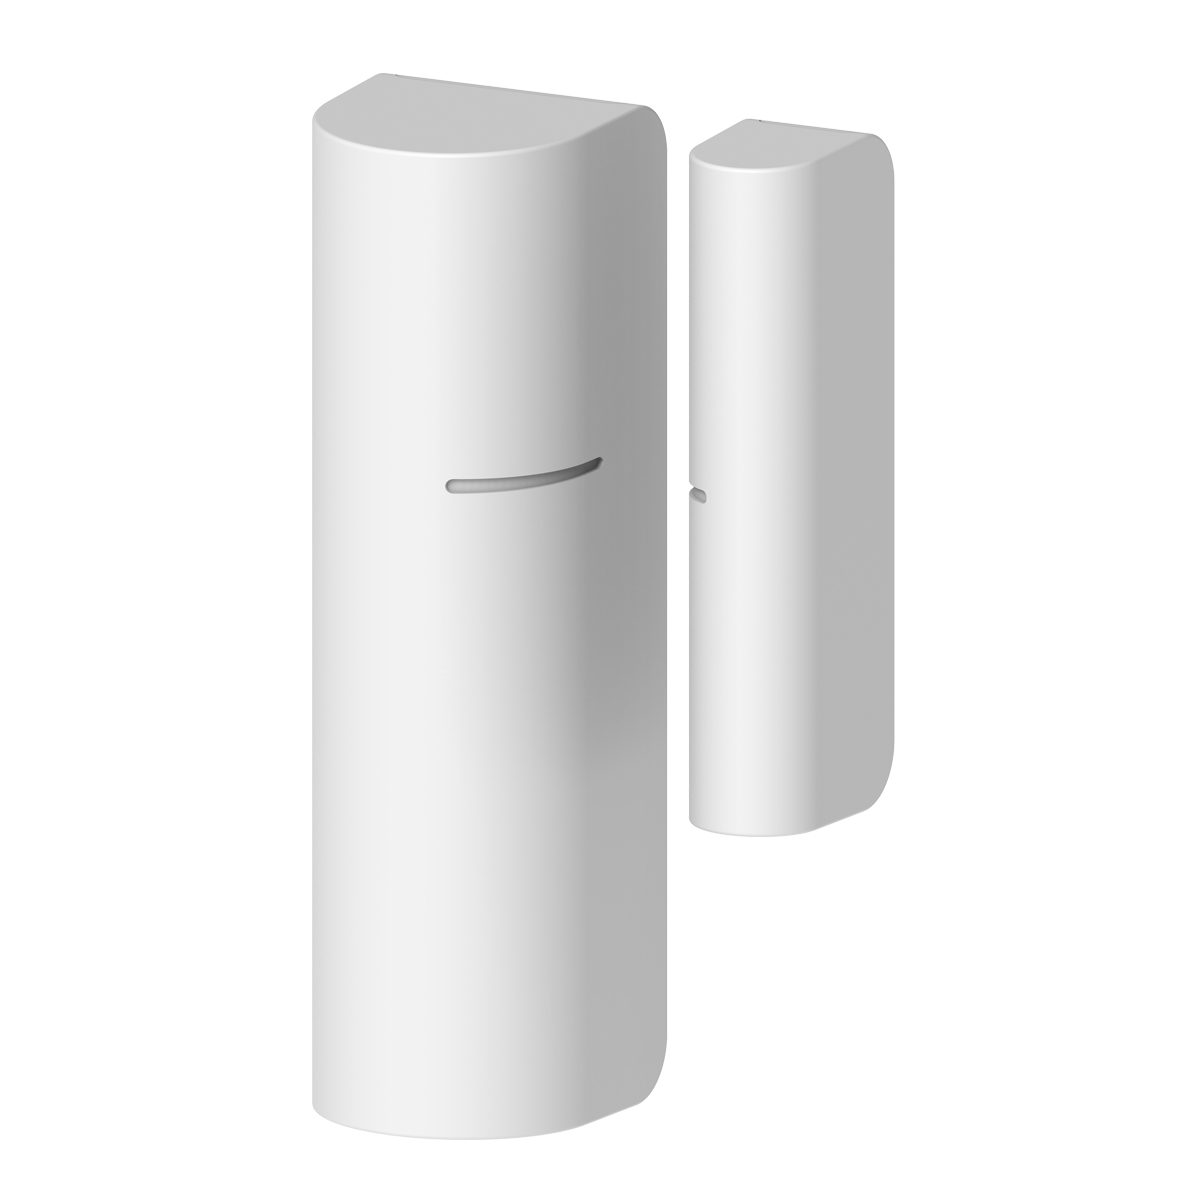
| Short Description | Z-Wave Door Window Sensor
This device is an accessory of the Z-Wave system and enable detection of opened or closed access locations in your home. |
|---|
| Long Description | Door Window Sensor is a wireless, battery powered reed sensor compatible with the Z-Wave Plus standard. Changing the device’s status will automatically send signal to the Z-Wave controller and associated devices.
Features :
*Easy to install with adhesive tapes
*Small, modest design for any Location
*Z-Wave Plus certified
*Frequency 908.42MHz
*CR2 Lithium battery |
|---|
| Brand | Sercomm |
|---|
| Product Identifier | SW-DWS02N |
|---|
| OEM Version | HW: 2 FW: 1.09 |
|---|
| Hardware Platform | ZM5101 |
|---|
| Z-Wave Version | 6.51.06 |
|---|
| Library Type | SLAVE_ENHANCED_232 |
|---|
| Device Type | Notification Sensor |
|---|
| Role Type | ROLE_TYPE_SLAVE_SLEEPING_REPORTING |
|---|
| Manufacturer ID | 0x0151 |
|---|
| Product Type ID | 0x0003 |
|---|
| Product ID | 0x0003 |
|---|
| User Icon | 0x0c07 |
|---|
| Installer Icon | 0x0c07 |
|---|
| Frequency Plans | US: 916.00MHz, 908.40MHz |
|---|
| Categories | Sensors |
|---|
| Countries / Regions | United States of America |
|---|
| Documents | |
|---|
| Association Groups | | Group Number | Maximum Nodes Supported | End Point ID | Description |
|---|
| 1 | 5 | 0 | Z-Wave Plus Lifeline |
|
|---|
| Texts | | ID | Description | Value |
|---|
| 1 | Inclusion | First install
1. Pull the exposed plastic tab from the sensor.
2. Power on
3. The Green LED indicator will be lit for one second to indicate a successful booting.
4. It will blink one time every second while scanning the network.
5. If network is not found after 30 seconds, the sensor will go into sleep mode. To wake the sensor again, you need to use magnet or tamper to trigger a Add (Inclusion) process, and then sensor will repeat steps from 3 to 4. | | 2 | Exclusion | 1. Remove device rear cover and pressing the tamper button three times within 2 seconds, green LED indicator should go “On” 0.5 second and enter exclusion mode.
2. If remove (exclusion) successful, go auto Adding procedure.
3. Node ID has been remove. | | 4 | Device Wake-Up | If sensor is sleeping, remove the cover to wake up | | 5 | Factory Reset | 1. Pressing the tamper button four times within 2 seconds (Figure 4) and do not release the tamper button in the 4th pressed, and the LED will turn ON.
2. After over 3 seconds the Green LED indicator will turn OFF, then go auto Adding procedure.
3. IDs are excluded and all settings will reset to factory default.
4. Device begin auto Adding (Inclusion) mode.
Note: Use this procedure only in the event that the primary controller is lost. |
|
|---|
| Supports NWI | Yes |
|---|
| Supports Explorer Frames | Yes |
|---|