| Product Recognition | |
|---|
| Certification Number | ZC10-17045564 |
|---|
| Name | Z-Wave Plus Extender |
|---|
| Short Description | The WeR@Home Z-Wave® Plus Extender incorporates third-party Z-Wave® devices into WeR@Home™, integrating home automation and control functions with the core WeR@Home™ system. |
|---|
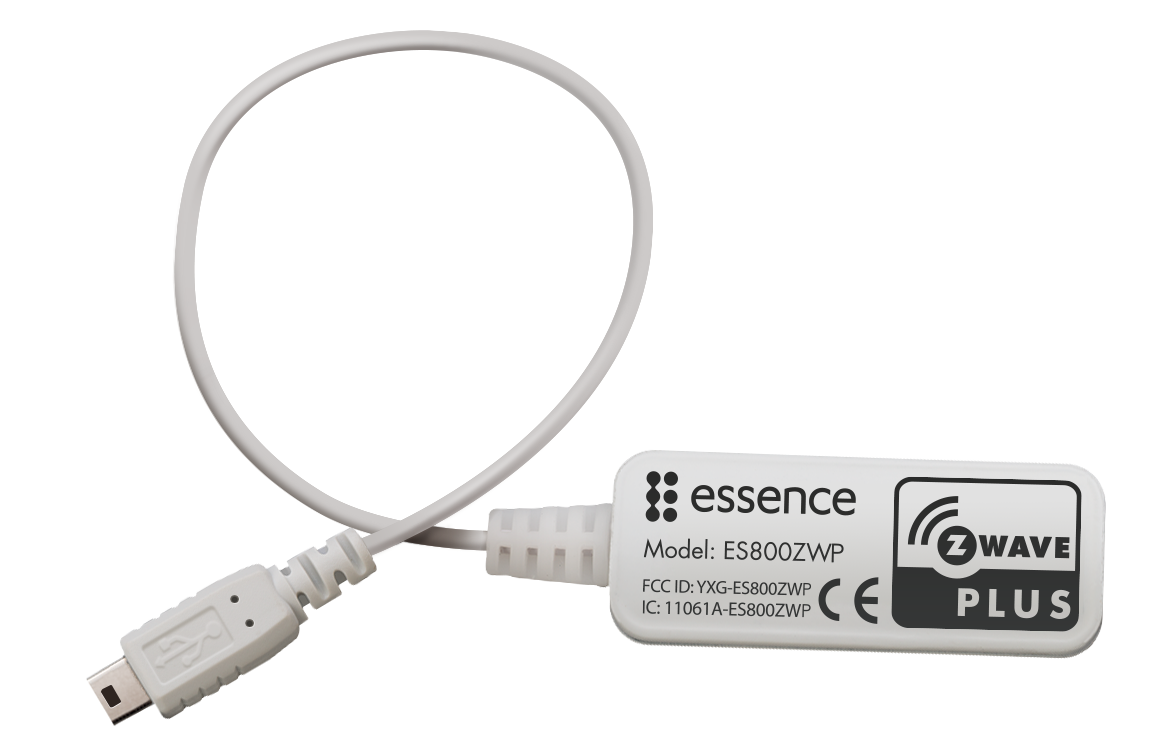
| Long Description | The WeR@Home Z-Wave® Plus Extender allows you to incorporates third-party smart home devices into WeR@Home using the Z-Wave interoperable, home control, wireless protocol. The Z-Wave Plus Extender connects the WeR@Home hub to a network of smart home devices from a range of manufacturers and allows for full communication and control of those devices. The Z-Wave Plus Extender applies the full power of WeR@Home Smart Rules to control Z-Wave devices by triggering them to perform specific actions, at specific times, and in specific situations. The following Z-Wave device types are supported:
- Door locks
- On/Off switches
- Dimmers
- Thermostats
- Power strips
- Multi-channel devices
- Multi-colored RGBW LED bulbs
- Multi-input/ multi-output devices
- Glass break detector
- Garage door controller |
|---|
| Brand | Essence Security |
|---|
| Product Identifier | ES800ZWP_EU_Mxx |
|---|
| OEM Version | HW: 4 FW: 4.05:04.06 |
|---|
| Hardware Platform | ZM5101 |
|---|
| Z-Wave Version | 6.61.00 |
|---|
| Library Type | CONTROLLER_STATIC |
|---|
| Device Type | Central Controller |
|---|
| Role Type | ROLE_TYPE_CONTROLLER_CENTRAL_STATIC |
|---|
| Manufacturer ID | 0x0160 |
|---|
| Product Type ID | 0x0001 |
|---|
| Product ID | 0x0001 |
|---|
| User Icon | 0x0100 |
|---|
| Installer Icon | 0x0100 |
|---|
| Frequency Plans | EU: 869.85MHz, 868.40MHz |
|---|
| Categories | All Controllers, Gateway Controller |
|---|
| Countries / Regions | European Union |
|---|
| Supported Command Classes | | Identifier | Name | Key | Version |
|---|
| COMMAND_CLASS_POWERLEVEL | Powerlevel | 0x73 | 1 | | COMMAND_CLASS_APPLICATION_STATUS | Application Status | 0x22 | 1 | | COMMAND_CLASS_CRC_16_ENCAP | CRC16 Encapsulation | 0x56 | 1 | | COMMAND_CLASS_SECURITY | Security S0 | 0x98 | 1 | | COMMAND_CLASS_VERSION_V2 | Version V2 | 0x86 | 2 | | COMMAND_CLASS_DEVICE_RESET_LOCALLY | Device Reset Locally | 0x5A | 1 | | COMMAND_CLASS_ZWAVEPLUS_INFO_V2 | Z-Wave Plus Info V2 | 0x5E | 2 | | COMMAND_CLASS_ASSOCIATION_V2 | Association V2 | 0x85 | 2 | | COMMAND_CLASS_ASSOCIATION_GRP_INFO | Association Group Info | 0x59 | 1 | | COMMAND_CLASS_MANUFACTURER_SPECIFIC | Manufacturer Specific | 0x72 | 1 |
|
|---|
| Controlled Command Classes | | Identifier | Name | Key | Version |
|---|
| COMMAND_CLASS_DOOR_LOCK | Door Lock | 0x62 | 1 | | COMMAND_CLASS_MULTI_CHANNEL_ASSOCIATION_V3 | Multi-Channel Association V3 | 0x8E | 3 | | COMMAND_CLASS_BATTERY | Battery | 0x80 | 1 | | COMMAND_CLASS_THERMOSTAT_FAN_STATE | Thermostat Fan State | 0x45 | 1 | | COMMAND_CLASS_SWITCH_BINARY | Switch Binary | 0x25 | 1 | | COMMAND_CLASS_BASIC | Basic | 0x20 | 1 | | COMMAND_CLASS_CRC_16_ENCAP | CRC16 Encapsulation | 0x56 | 1 | | COMMAND_CLASS_SECURITY | Security S0 | 0x98 | 1 | | COMMAND_CLASS_THERMOSTAT_FAN_MODE_V3 | Thermostat Fan Mode V3 | 0x44 | 3 | | COMMAND_CLASS_THERMOSTAT_MODE_V2 | Thermostat Mode V2 | 0x40 | 2 | | COMMAND_CLASS_THERMOSTAT_SETPOINT_V2 | Thermostat Setpoint V2 | 0x43 | 2 | | COMMAND_CLASS_WAKE_UP_V2 | Wake Up V2 | 0x84 | 2 | | COMMAND_CLASS_SWITCH_MULTILEVEL_V3 | Switch Multilevel V3 | 0x26 | 3 | | COMMAND_CLASS_ASSOCIATION_V2 | Association V2 | 0x85 | 2 | | COMMAND_CLASS_MULTI_CHANNEL_V4 | Multi-Channel V4 | 0x60 | 4 | | COMMAND_CLASS_MANUFACTURER_SPECIFIC | Manufacturer Specific | 0x72 | 1 |
|
|---|
| Documents | |
|---|
| Features | | Feature | Values |
|---|
| Color | | | Communications Connections | | | Gateway Has Preferred Partners | | | Switch Load Capacity Current | | | Switch Load Capacity Volt-Ampere | | | Supported Notification Types | |
|
|---|
| Association Groups | | Group Number | Maximum Nodes Supported | End Point ID | Description |
|---|
| 1 | 3 | 0 | Z-Wave Plus Lifeline.
Lifeline Notification Reports - Device Reset Locally (Notification sent when device is reset to factory) |
|
|---|
| Texts | | ID | Description | Value |
|---|
| 23 | Controller Inclusion | After you install a Z-Wave Extender, you can add a Z-Wave device to WeR@Home™. Install the device
within 20 m (65.6 ft.) of the Z-Wave Extender. Use Z-Wave devices with repeater capabilities to extend
network range.
Before you begin, refer to the device’s documentation to learn the pairing process for the specific
device.
To add a Z-Wave device:
1. Log in to the WeR@Home™ app.
2. Tap . The main menu appears.
3. Tap DEVICES. The Devices screen appears.
4. Tap ""Add new device"". The Add New Devices screen appears displaying a list of the available device
types including the Z-Wave device types.
5. Select the type of Z-Wave device to be added. The Power your device window appears.
6. Position the Z-Wave device within 0.5 m (1.6 ft.) of the Z-Wave Extender.
7. Insert batteries into the device or connect to the nearest power outlet. The Step 1 of 2 pairing
screen appears. | | 24 | Controller Exclusion | You can remove a Z-Wave device from WeR@Home™ if the device is not needed, becomes
unresponsive, or becomes disconnected from the network.
To remove a Z-Wave device:
1. Log in to the WeR@Home™ app.Managing Your Z-Wave Devices
WeR@Home™ Z-Wave® User Guide 15
2. Tap . The main menu appears.
3. Tap DEVICES. The Devices screen appears.
4. Tap DELETE in the top right-hand corner of the screen.
5. Tap for the device that you want to remove. The Remove Z-Wave Device window appears.
6. Press the pairing button on the Z-Wave device, according the device’s documentation, and tap OK
in the window.
7. Tap OK in the top right-hand corner of the screen. | | 3 | Learn Mode (adding another controller) | If you have an existing third-party Z-Wave network, WeR@Home™ can join the network. WeR@Home™ enters ""learn"" mode on the existing network to automatically copy the existing network's Smart Home network structure. When you join a Z-Wave network, you have access to the Z-Wave devices supported by WeR@Home™. The Z-Wave Plus Extender is assigned one of the following roles depending on the third-party controller capabilities:
Secondary (inclusion) - allowed to add or delete additional Z-Wave devices
Secondary –not allowed to add or delete additional Z-Wave devices
To join an existing third-party Z-Wave network:
1. Remove all Z-Wave devices from your WeR@Home™, except for your Z-Wave Plus Extender. Refer to 5.5 Removing a Z-Wave Device on page 15.
2. In the WeR@Home™ app, tap . The main menu appears.
3. Tap Devices. The Devices screen appears.
4. Tap for your Z-Wave Plus Extender. The Z-Wave Controller configuration screen appears.
5. Put the primary controller of the existing network into Add mode, according to the controller’s user manual.
6. Tap Join Existing Network. All Z-Wave devices are removed from WeR@Home™. WeR@Home™ copies the topology of the existing network and prompts you to enter the name for the existing network controller.
7. Enter the name for the existing network controller and tap OK. | | 5 | Factory Reset | Restoring factory settings returns your Z-Wave Plus Extender to its default settings and removes Z-Wave device definitions.
Please use this procedure only when the network primary controller is missing or otherwise inoperable.
To restore factory settings:
1. Tap . The main menu appears.
2. Tap Settings. The Settings menu appears.
Tap Z-Wave. The Z-Wave screen appears.
Tap Reset to Factory. |
|
|---|
| Supports NWI | Yes |
|---|
| Supports Explorer Frames | Yes |
|---|