Product Recognition | |
|---|
Certification Number | ZC10-26040012 |
|---|
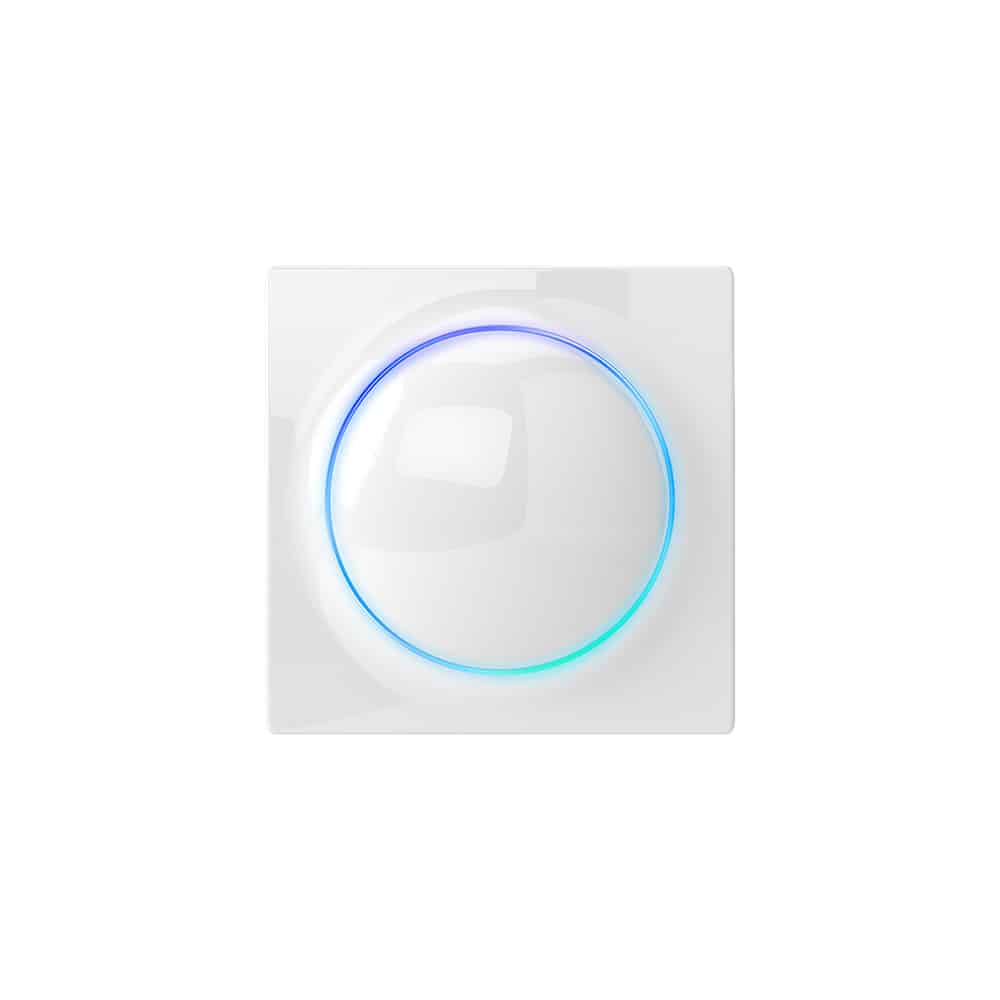
Name | Walli Roll-Control |
|---|
Short Description | NICE Wall Roll-Control is a smart wall switch designed to control roller blinds, awnings, venetian blinds and other single phase, AC powered devices via Z-Wave® network.
It measures active power and energy consumed by the controlled load. |
|---|
Description | NICE Wall Roll-Control is a smart wall switch designed to control motors of roller blinds, awnings, venetian blinds and other single phase, AC powered devices via Z-Wave® network. It measures active power and energy consumed by the controlled load. You can install it with provided cover plate or other compatible. Main features of NICE Wall Roll-Control: - Can be used with: o Roller blinds, o Venetian blinds, o Awnings, o Blind motors with electronic or mechanical limit switches. - Can be used with provided cover plate or one of the following: o GIRA – System 55 (Standard 55, E2, Event, Event Clear), o Legrand – Céliane, o Schneider – Odace. - Active power and energy consumption metering. - Supports Z-Wave® network Security Modes: S0 with AES-128 encryption and S2 Authenticated with PRNG-based encryption. - Works as Z-Wave® signal repeater (all non-battery operated devices within the network will act as repeaters to increase reliability of the network). - May be used with all devices certified with the Z-Wave Plus® certificate and should be compatible with such devices produced by other manufacturers. |
|---|
Brand | Nice |
|---|
Brand Owner | Nice |
|---|
Identifier | FGWREU–111 |
|---|
Product Line | Nice Walli Roll-Control |
|---|
OEM Version | HW: 01 FW: 05.01:05.01 |
|---|
Hardware Platform | ZM5101A-CME3 |
|---|
Z-Wave Version | 6.81.01 |
|---|
Library Type | END_NODE_ENHANCED_232 |
|---|
Device Type | Window Covering Endpoint Aware |
|---|
Role Type | ROLE_TYPE_SLAVE_ALWAYS_ON |
|---|
Manufacturer ID | 0x010F |
|---|
Product Type ID | 0x1D01 |
|---|
Product ID | 0x1000 |
|---|
User Icon | 0x1900 |
|---|
Installer Icon | 0x1900 |
|---|
Radio Range Z-Wave (m) | 40 |
|---|
Frequency Plans | EU: 869.85MHz, 868.40MHz |
|---|
Categories | All Lighting Devices, Window Covering, Energy Meters, On/Off Switches/Devices, Motor Control |
|---|
Countries / Regions | European Union |
|---|
Supported Command Classes | Identifier | Name | Key | Version |
|---|
COMMAND_CLASS_BASIC | Basic | 0x20 | 1 | COMMAND_CLASS_CENTRAL_SCENE_V3 | Central Scene V3 | 0x5B | 3 | COMMAND_CLASS_CONFIGURATION | Configuration | 0x70 | 1 | COMMAND_CLASS_METER_V3 | Meter V3 | 0x32 | 3 | COMMAND_CLASS_SWITCH_MULTILEVEL_V4 | Multilevel Switch V4 | 0x26 | 4 | COMMAND_CLASS_NOTIFICATION_V8 | Notification V8 | 0x71 | 8 | COMMAND_CLASS_PROTECTION_V2 | Protection V2 | 0x75 | 2 | COMMAND_CLASS_APPLICATION_STATUS | Application Status | 0x22 | 1 | COMMAND_CLASS_ASSOCIATION_V2 | Association V2 | 0x85 | 2 | COMMAND_CLASS_ASSOCIATION_GRP_INFO_V2 | Association Group Information (AGI) V2 | 0x59 | 2 | COMMAND_CLASS_DEVICE_RESET_LOCALLY | Device Reset Locally | 0x5A | 1 | COMMAND_CLASS_FIRMWARE_UPDATE_MD_V4 | Firmware Update Meta Data V4 | 0x7A | 4 | COMMAND_CLASS_MANUFACTURER_SPECIFIC_V2 | Manufacturer Specific V2 | 0x72 | 2 | COMMAND_CLASS_MULTI_CHANNEL_ASSOCIATION_V3 | Multi Channel Association V3 | 0x8E | 3 | COMMAND_CLASS_VERSION_V2 | Version V2 | 0x86 | 2 | COMMAND_CLASS_ZWAVEPLUS_INFO_V2 | Z-Wave Plus Info V2 | 0x5E | 2 | COMMAND_CLASS_CRC_16_ENCAP | CRC-16 Encapsulation | 0x56 | 1 | COMMAND_CLASS_MULTI_CHANNEL_V4 | Multi Channel V4 | 0x60 | 4 | COMMAND_CLASS_SECURITY | Security 0 | 0x98 | 1 | COMMAND_CLASS_SECURITY_2 | Security 2 | 0x9F | 1 | COMMAND_CLASS_SUPERVISION | Supervision | 0x6C | 1 | COMMAND_CLASS_TRANSPORT_SERVICE_V2 | Transport Service V2 | 0x55 | 2 | COMMAND_CLASS_POWERLEVEL | Powerlevel | 0x73 | 1 |
|
|---|
Controlled Command Classes | Identifier | Name | Key | Version |
|---|
COMMAND_CLASS_SWITCH_MULTILEVEL_V4 | Multilevel Switch V4 | 0x26 | 4 |
|
|---|
S2 Classes | S2_AUTHENTICATED |
|---|
Documents | Category | File |
|---|
Manual_English | |
|
|---|
Texts | ID | Description | Value |
|---|
8 | Where to find S2 DSK on product | If you are adding in Security S2 Authenticated, input the underlined part of the device device security key (DSK), which is labelled on the bottom of the box. | 1 | Classic Inclusion | Adding (Inclusion) – Z-Wave device learning mode, which enables adding the device to the existing Z-Wave network.
4.1 - Adding manually
1. Power the device.
2. Set the main hub in the (Security/non-Security Mode) add mode. For more information, see the hub manual.
3. Quickly, three times click one of the buttons.
4. If you are adding in Security S2 Authenticated, input the underlined part of the device device security key (DSK), which is labelled on the bottom of the box.
5. LED starts blinking yellow, wait for the adding process to end.
6. Adding result is confirmed with the Z-Wave hub message and the LED frame:
• Green – successful (non-secure, S0, S2 non-authenticated)
• Magenta – successful (Security S2 Authenticated)
• Red – not successful | 2 | Classic Exclusion | Removing (Exclusion) – Z-Wave device learning mode, which enables removing the device from the existing Z-Wave network. Removing also
results in resetting the device to factory defaults.
1. Power the device.
2. Set the main hub in the remove mode. For more information, see the hub manual.
3. Quickly, three times click one of the buttons.
4. LED starts blinking yellow, wait for the removing process to end.
5. Successful removing is confirmed with the Z-Wave hub message and red LED colour. | 5 | Factory Reset Procedure | Reset procedure restoring the device back to its factory settings, which means all information about the Z-Wave hub and user configuration are
deleted. Resetting to factory defaults doesn't reset energy consumption memory.
Note
Resetting the device isn't the recommended way of removing the device from the Z-Wave network. Use reset procedure only if the primary hub
is missing or inoperable. Certain device removal can be achieved by the procedure of removing described.
1. Quickly, three times click, then press and hold one of the buttons to enter the menu.
2. Release the button when the device glows yellow.
3. Quickly click the button to confirm.
4. After a few seconds the device is restarted, which is signalled with red LED colour. |
|
|---|
Supports NWI | Yes |
|---|
Supports Explorer Frames | Yes |
|---|
Supports SmartStart | Yes |
|---|